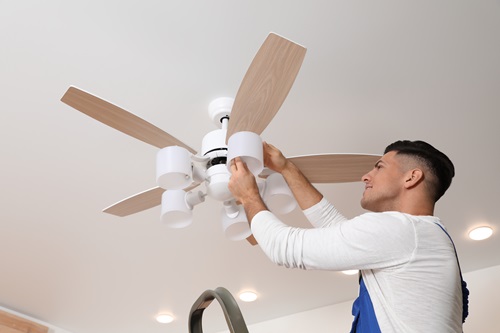
Installing a ceiling fan involves two main aspects: electrical and mechanical. Before diving into the setup process, it’s essential to consider certain constructional elements of your home. If you encounter any challenges during installation, it’s advisable to seek the assistance of a handyman.
Handyman Guide For Ceiling Fan Installation
Preparation is Key
First of all, it’s crucial to have your home’s electrical wiring inspected by a qualified electrician. And, ensuring that your home has suitable wiring for ceiling fan installation is essential for safety and efficiency. Additionally, keep in mind that some ceilings may require additional support to accommodate the weight of a ceiling fan. According to handyman advice, ceiling bracing should be considered during construction or home repairs.
Choosing the Right Location
Remember, it’s important to understand where you plan to hang the ceiling fan. Also, hanging it from the center of the ceiling allows for optimal air circulation. However, it’s important to avoid installing the fan directly above the bed, as this may cause discomfort. Furthermore, the Conway ceiling installation process involves two main steps: assembling the fan and mounting it securely.
Additionally, the assembly procedure may vary depending on the brand of the ceiling fan. Also, refer to the instruction manual provided to assemble the various components correctly. If the fan blades are less than 10-12 inches away from the ceiling, it’s acceptable to install the blades before hanging the fan.
Mounting the Fan
Moreover, securely attach the mounting bracket to the electrical box using screws. Remember, utilize the “working hook” included with the mounting bracket to hang the ceiling fan during wiring. Additionally, match the wires according to the standard color-coding system (white to white, black or blue to black or blue, etc.). And, each wire should be securely connected with a wire nut. Also, ensure all excess wiring is pushed back into the electrical box.
Grounding the Fan
The ceiling fan must be properly grounded to the metal box using the bare copper or green grounding wire. Connect the ground wires from the box, ceiling fan, and power supply using a wire nut or pigtail, securing it to the box with a screw. Carefully slide the ceiling cover into place and ensure it is securely fastened.
Special Considerations
For homes with beamed ceilings, a special beam may be required for . Proper installation is crucial to avoid any noise issues with the fan. If unsure about the installation process, consider contacting a reliable handyman for assistance.
Hire A Handyman
For further handyman tips and assistance with ceiling fan installation, reach out to Handyman Conway. Our experienced team is ready to provide expert guidance and support for all your home improvement needs. Don’t hesitate to give us a call or visit our website for more information.
If you’re ready to enhance your home with a ceiling fan installation, don’t hesitate to reach out to Handyman Conway. Our skilled professionals will ensure a seamless installation process, leaving you with a comfortable and stylish living space. Contact Handyman Conway today to get started!
Like our Facebook page for more information about our professional services.
Handyman Conway
Conway, SC 29526
843-353-6154
info@handymanconway.com
http://handymanconway.com/
Areas Served: Conway, Aynor, Carolina Forest, Myrtle Beach, North Myrtle Beach


No comments:
Post a Comment